Horizon and sky placement in photography.
The horizon line in photography plays a huge role in composition, understanding how to use it is one of the biggest factors in the outcome of your photos. Here's a breakdown of the key things you want to know about horizons in photography.

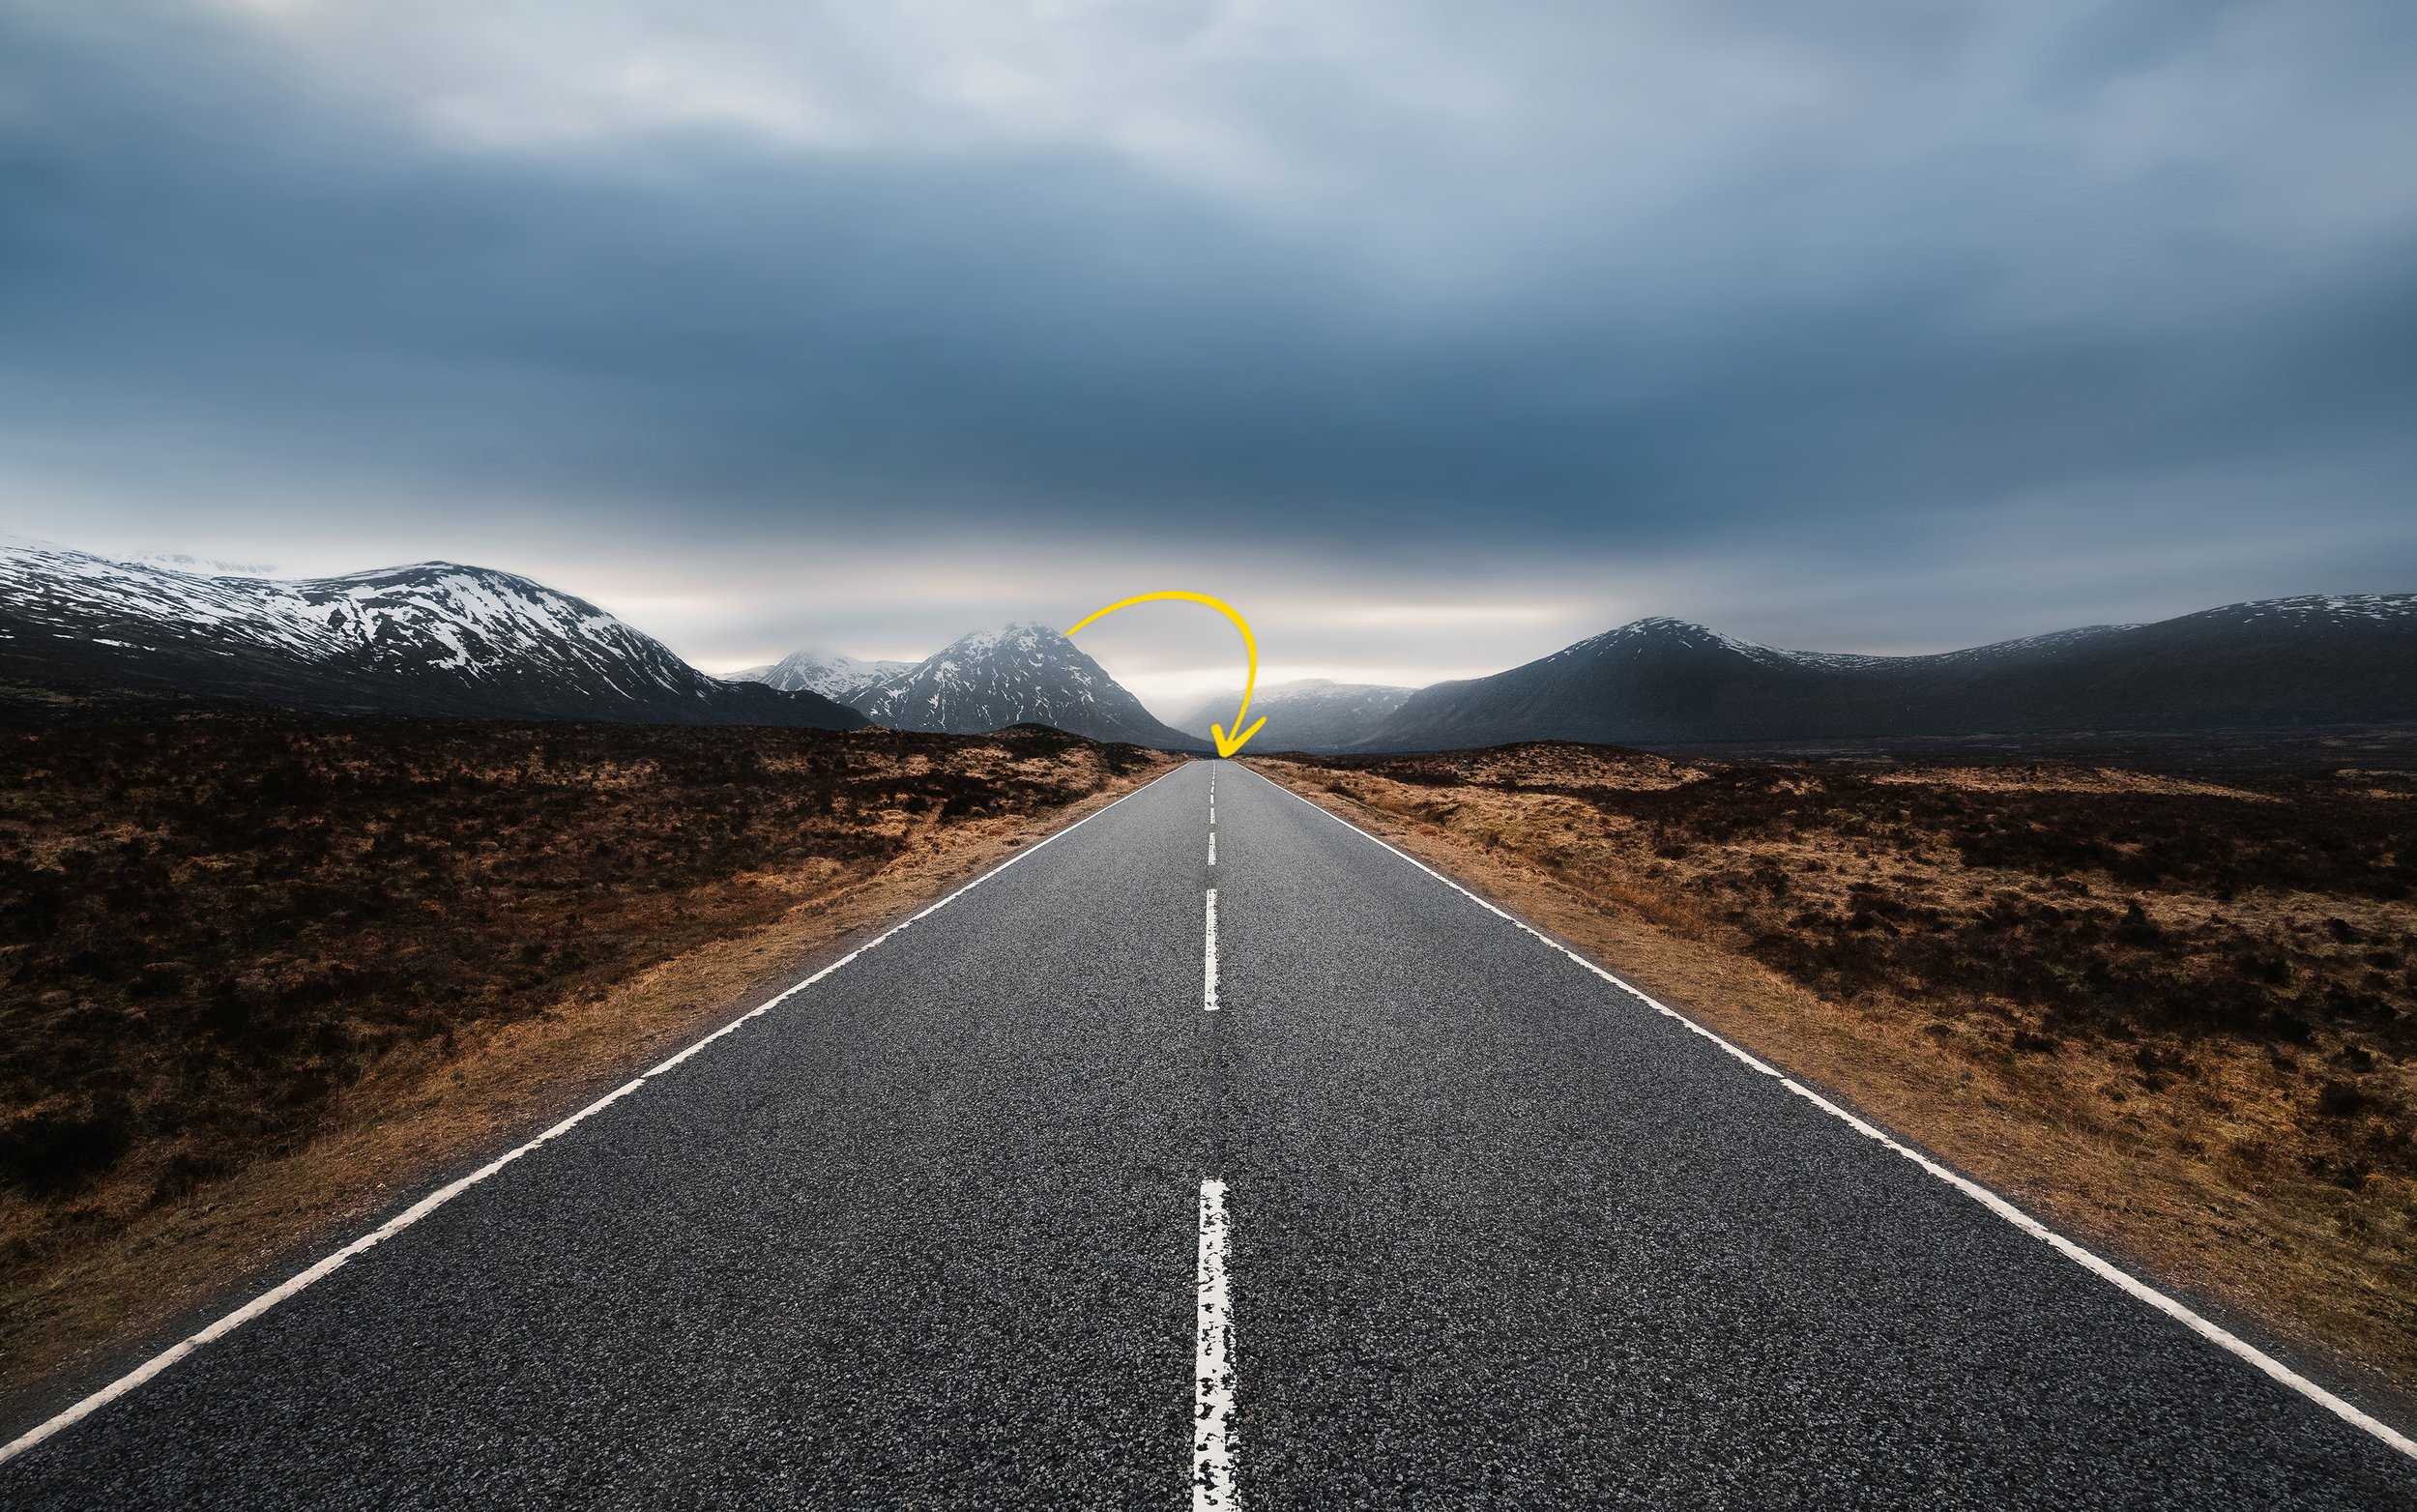
FINDING THE HORIZON
In scenes without any obstructions to the horizon line like oceans or flat plains, the horizon is easy to spot. But in busy scenes with mountains or buildings, it can be trickier. If this is the case try to draw a natural line with your eye at a key point in the image. Think at the end of roads or at the top or bottom of a tree-line. Look for breaks in the landscape where you can visualise the end of the land and the sky beginning.
POSITIONING YOUR HORIZON / SKY
Where you choose to place your horizon either in camera or in post, has one of the biggest effects on the overall balance and feeling of your photography. The rule of thirds suggests placing the horizon on either the upper or lower third of the frame, which is the most traditional way of composing an image, however its important to remember this is just a guideline and not gospel for all photos we take.

Horizon line positioned on the top 3rd of the frame via the ‘‘rules of thirds’’.
LOW VS HIGH HORIZONS
A high horizon line draws most of the attention to the foreground detail and is great when you want the viewer to really take in the forefront of your frame, a low horizon makes the sky the star of the show and compliments a minimalistic style nicely
A general approach that always works well is this: If your sky is more interesting than your foreground, and the sky was one of the main reasons you took the photo to begin with, go with a low horizon line and give the sky more space in the frame. Conversely, if the sky is underwhelming or not the main draw of your image, position it higher in the frame (by placing the horizon closer to the top) to allow more attention to be paid to the mid ground and foreground elements.

High horizon example photo.

Low horizon example photo by freezydreamin.
CENTRAL HORIZONS
Some argue against placing the horizon smack dab in the middle. However, I disagree and maintain that there are situations where a central horizon works well.
Anything containing reflections can be particularly effective with a central horizon. You may also have a subject that looks great in the centre of the frame but in doing so your horizon naturally ends up in the middle, which is fine. In other scenes, you might feel your sky and foreground hold equal visual weight or interest, prompting you to give them both as much space as possible with a central horizon.

A conscious central horizon choice due to the subject matter and visual interest of both the sky and ocean. This could have been taken with a low or high horizon, but that’s the beauty of the subjective choices in photography.

Back of the subject already sits close to the horizon, and this particular subject works great in the centre of the frame.
A LINE TO YOUR SUBJECT
The horizon line can also be used to draw a line into your subject when needed (popular in portrait photography). Having a models eyes sit on the horizon line draws a line into the most important part of the image, it also helps to keep the photo feeling balanced by not having your subject awkwardly below or above that straight line. This occasionally works well with subjects in landscape photography too.


Eyes on horizon example image by Christopher Campbel
THE SIGN OFF
Ultimately the position of your horizon line is completely up to you, theyll be lots of scenes where both a low and high horizon looks great, therefore its your choice which you think works better. Luckily were living in a digital age where if you want, you can capture each version and decide which is your favourite later.
If you want to see more examples and dive into this topic deeper, check out the YouTube video version below in which this blog post stems from.
THANK YOU.
I hope you found some value in this post, if you enjoyed it be sure you check out my Youtube @DISTANTMEDIA where I create content just like this blog post. If you have any topics you’d like me to cover be sure to reach out via the contact page here on my website, see you in the next one.